ASIA ELECTRONICS INDUSTRYYOUR WINDOW TO SMART MANUFACTURING
Takaya Pitches New High-Precision Flying Probe Tester
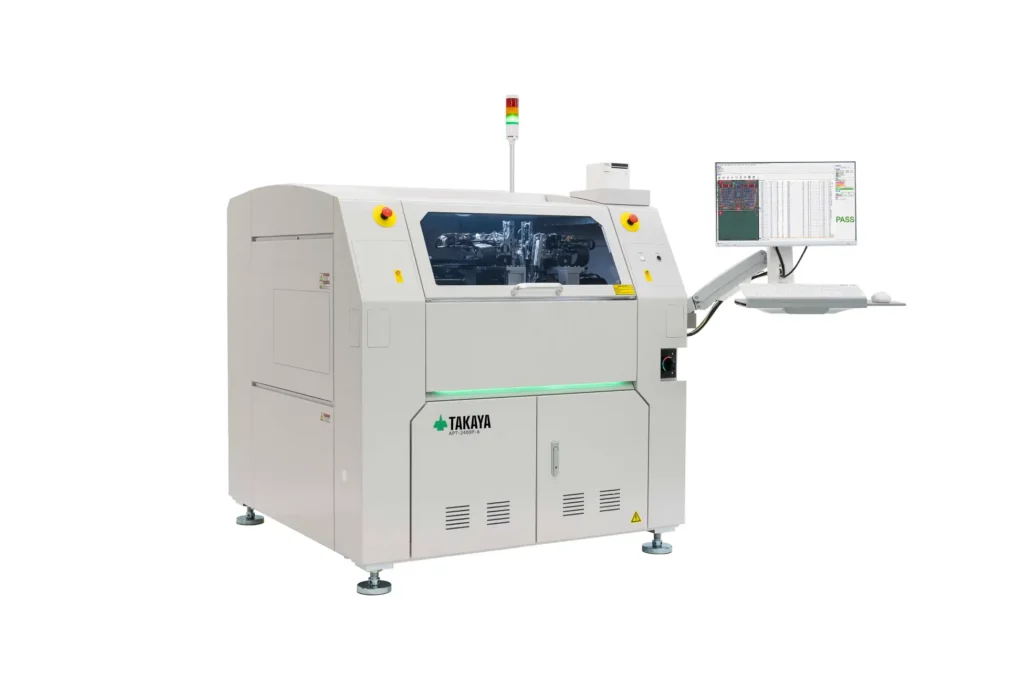
Takaya Corporation is pleased to announce the launch of the APT-2400F/APT-2600FD Series flying probe tester. Particularly, this is a new model of flying probe tester that reliably detects all defects in mounting boards with ultra-high-speed inspection.
Primarily, the new model boasts the industry’s highest class of probing accuracy for inspection of high-density mounting boards. Moreover, the company’s unique control mechanism and sensing technology enable highly reliable electrical inspection in any environment. In addition, the user-friendly interface contributes to reducing the load and improving efficiency of the operator.
This product will be exhibited for the first time in Japan at the 39th NEPCON Japan -Electronics Development & Packaging Exhibition. This is one of Asia’s largest electronics manufacturing and packaging exhibitions to be held at Tokyo Big Sight on January 22 to 24, 2025.
Development Background
Generally, in the electronic circuit board manufacturing industry, the demand for inspection accuracy and efficiency is increasing. Mainly, this is due to the increasing performance and miniaturization needed to mount a large number of components in a confined space. Takaya’s latest model, the APT-2400F/APT-2600FD Series, is an epoch-making inspection system developed by bringing together the industry’s highest level of technology in response to these industry needs.
Specifically, the APT-2400F/APT-2600FD Series is equipped with state-of-the-art inspection technology that enables high-precision checks of minute component placement and connections. The company did not overlook even the slightest defects or risks, and strongly supports the improvement of product quality. In addition, its unique control mechanism and sensing technology enable highly reliable inspections even in fluctuating environments, which is expected to contribute to quality control by reducing recall risks.
In addition, it adopts a user-friendly interface that anyone can operate intuitively. Also, it contributes to improving productivity by ensuring high inspection accuracy while reducing the burden, especially in sites where labor shortages are becoming more serious. Moreover, it is flexible enough to respond to the global market, and strongly supports the establishment of a production system that responds to rapidly increasing demand.
Additionally, the APT-2400F/APT-2600FD Series combines quality, efficiency, and ease of use, making it the embodiment of the “reason to be chosen.” Consider it as the new standard for industry-leading quality control.
Main Features of the New Model
1. Integrated design of all hardware and software in-house
By designing and developing everything from the hardware to the software of the product in-house, Takaya has achieved system optimization and high reliability. This allows the company to flexibly respond to the diverse needs of its customers and provide stable performance over a long period of time. It can also quickly respond to customization to provide the best solution.

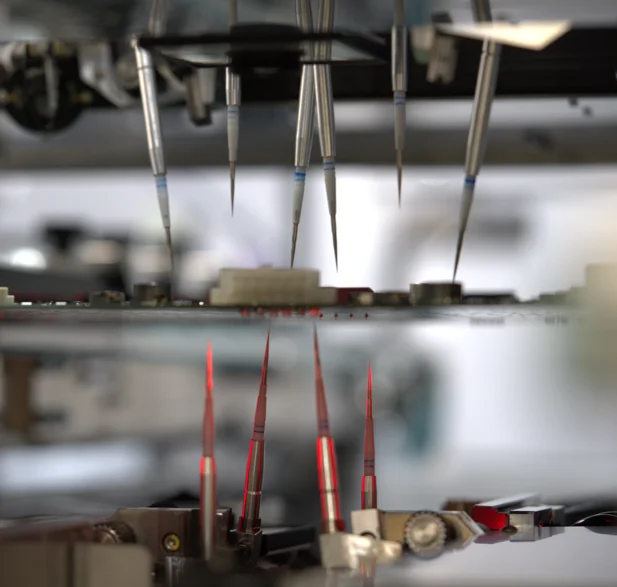
2. Newly developed motor system and inspection probe mechanism
Also, the contact accuracy in all areas has been improved, enabling more accurate inspections. It is equipped with a new control system that reduces the operating speed to zero the moment the probe comes into contact with the substrate. Thus, it minimizes damage to the board and components, improving durability and further improving inspection accuracy.
It provides reliable results where precise inspections are required and supports stricter quality control.
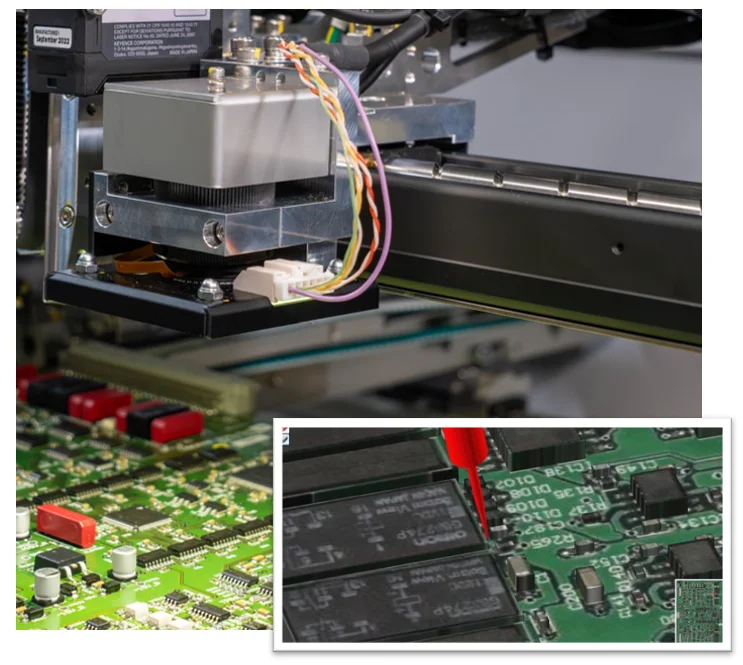
3. CMOS color camera with liquid lens
The latest CMOS color camera with liquid lens improves resolution by 70% and depth of field by 300% compared to previous models. Also, it supports OCR (character recognition) to greatly improve work efficiency.
The newly developed “3D Real Map Function” realizes intuitive operation by displaying and visualizing the probe contact position in three dimensions.
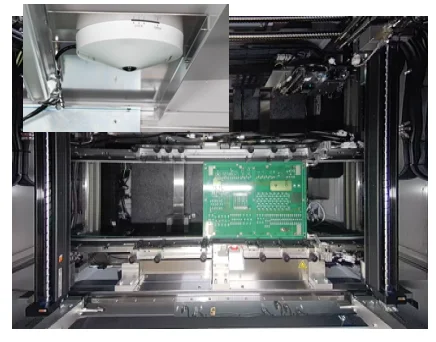
4. Remote camera
Even in remote locations, users can check the work status in real time and respond quickly. Like a drive recorder, it is equipped with a function that automatically captures the situation when a problem occurs. Thus, it makes it easy to trace the cause and analyze when a problem occurs.
Improve operational efficiency and minimize downtime.
5. Automatic cleaner of inspection prop (optional)
It is equipped with the industry’s first “automatic cleaner of inspection probes”. This innovative new feature greatly improves convenience by automating cleaning tasks that were previously performed manually. Thus, it reduces the burden on operators and maintenance time and costs.
It maintains high reliability even during long-term continuous operation and contributes to efficient quality control.
6. Temperature sensor (optional)
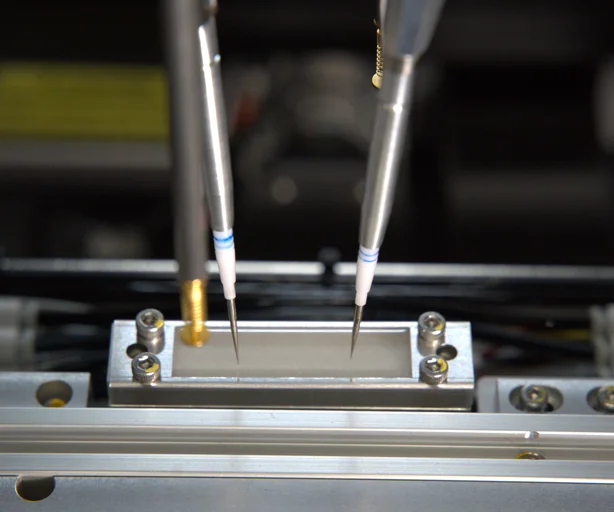
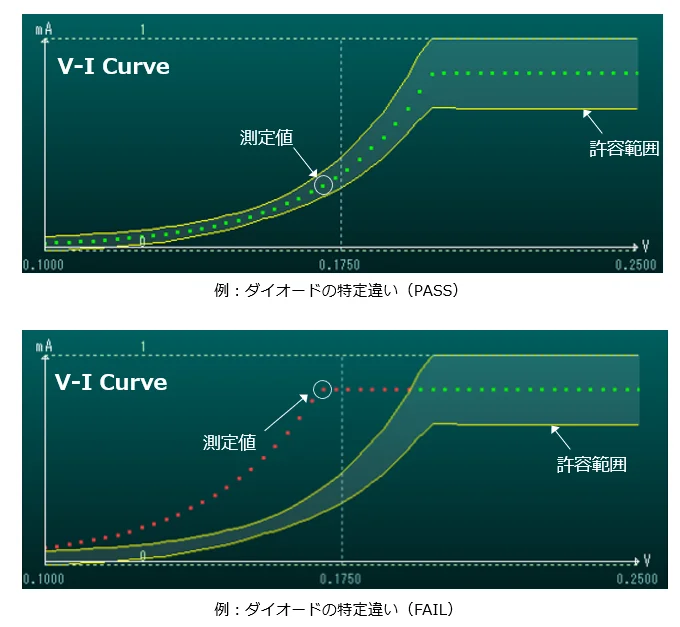
The newly developed “temperature sensor” can monitor the room temperature and substrate temperature in real time and reflect it in the measurement results. Stable data acquisition can be performed even in environments that are susceptible to temperature changes. In addition, it is possible to detect temperature abnormalities, such as identifying overheating areas on the board. Thus, it contributes to defect analysis, investigation of causes, and planning of improvement measures.
7. Universal design
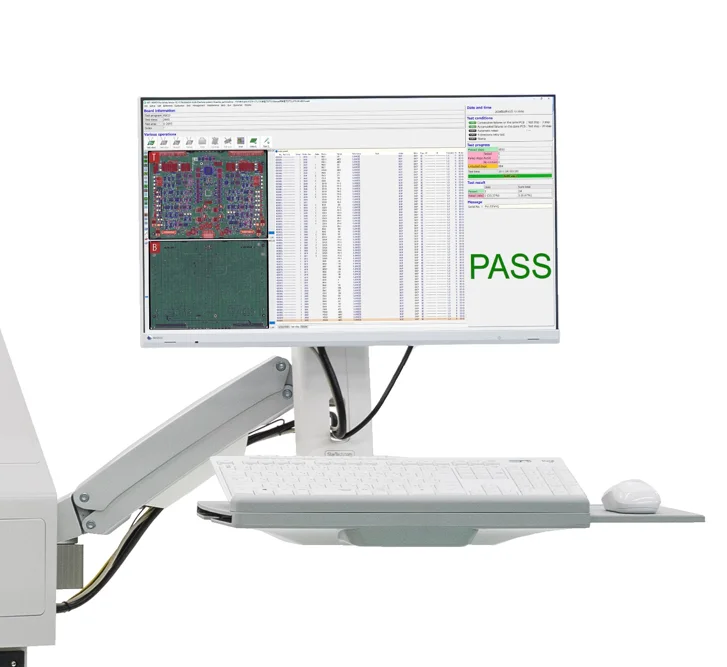
To match the user’s diverse work styles and operating environments, the monitor arm and operation system have been universally designed. The angle and height of the screen can be adjusted freely. Thus, users can operate comfortably in either a standing or sitting position. In addition, the position can be easily changed according to the dominant hand, improving work efficiency and reducing fatigue even when working for long periods of time.
It offers flexibility and comfort that can be adapted to different working environments.
8. A variety of extensions to meet a wide range of industry needs
It has a wide range of expansion functions such as linkage with digital inspection such as JTAG boundary scan, frequency measurement, luminescence inspection in the LED + UV + IR region, and writing to FPGAs using multi-probe (optional). In addition, it supports communication in accordance with the OPC UA / IPC-HERMES-9852 standard, enabling smooth data communication with other systems and the entire production line.
It is a powerful tool for precise measurements, flexibility, and improved product reliability in all processes of electronic component inspection.
Automated Conveying System
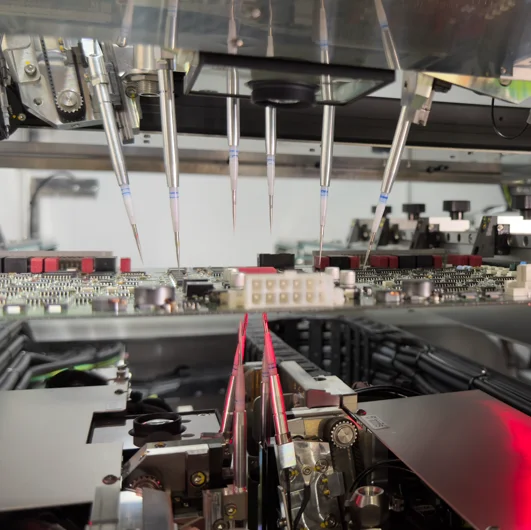
All models are available with in-line machines. By connecting to the loader and unloader (sold separately), it is possible to build a continuous automatic inspection system with a maximum speed of 40 m/min. It realizes a smooth production line and enables efficient substrate inspection.
Combined with split inspection options, it is possible to inspect boards of various sizes, from standard models (890×483mm) to large models (985×610mm).
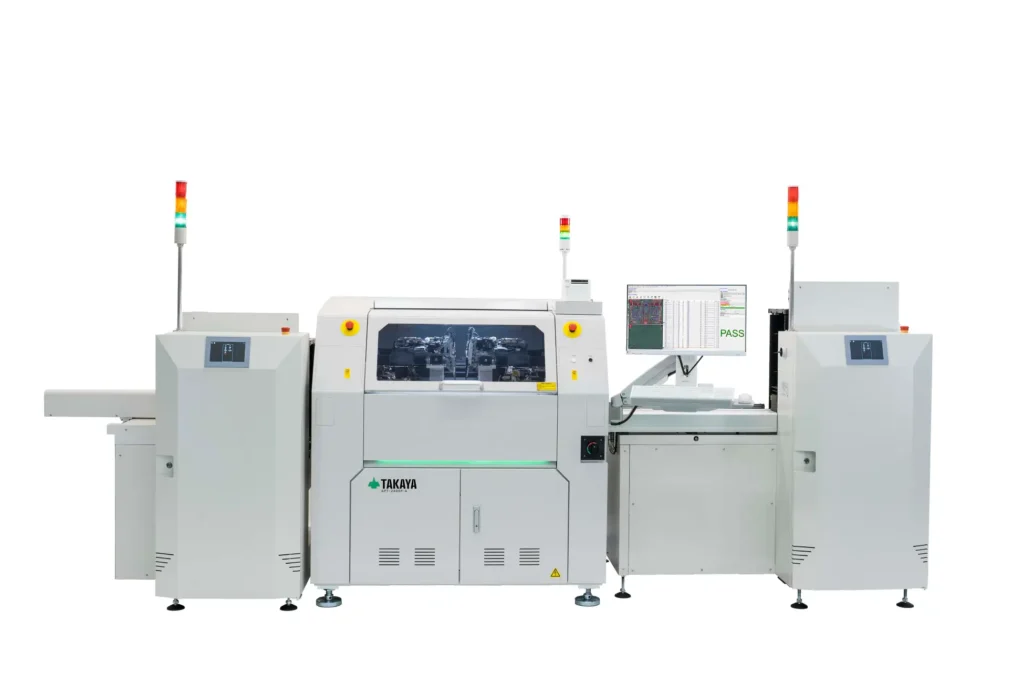
It provides an optimal in-line inspection environment for the user’s manufacturing process, supporting both productivity and quality control.
This is an online translation of a Japanese press release with slight editing made by Dempa.
-19 November 2024-
